Euro Cylinder Lock
Installation Guide
A guide to correctly installing euro cylinder locks for doors.
Contents
Click below to skip to a section
Still Have A Question?
Contents
Click below to skip to a section
Still Have A Question?
Introduction
This guide has been written by the Guild of Architectural Ironmongers, the Door & Hardware Federation, the Glass and Glazing Federation and the Master Locksmiths Association, and is intended to provide guidance on the methodology for the successful installation of euro profile cylinders for locking devices. This guidance has been issued following reports from association members of incorrect installation and mishandling of cylinders which has resulted in failures of the cylinders.
It is applicable to most cylinders on the market but, due to differing security levels, standards, regulations and manufacturers’ designs there may be variations. Where manufacturers’ guidance conflicts or differs from this guide, the manufacturers’ guidance must be followed.
Please note that using an MLA approved locksmith would ensure the guidance in this document is followed but in the absence of this then this document provides guidance for manufacturers, installers and architectural ironmongers.
In addition to the following advice, it should be noted that cylinders should always be installed, checked, maintained and tested regularly in line with the manufacturer’s instructions and recommendations.
Note: Cylinders are designed with very narrow tolerances. This guide is designed to assist with successful installation of products.
Note: Incorrect installation can lead to damage to the cylinder as well as negatively impacting the lockcase it is intended to be fitted to.
Pre Installation
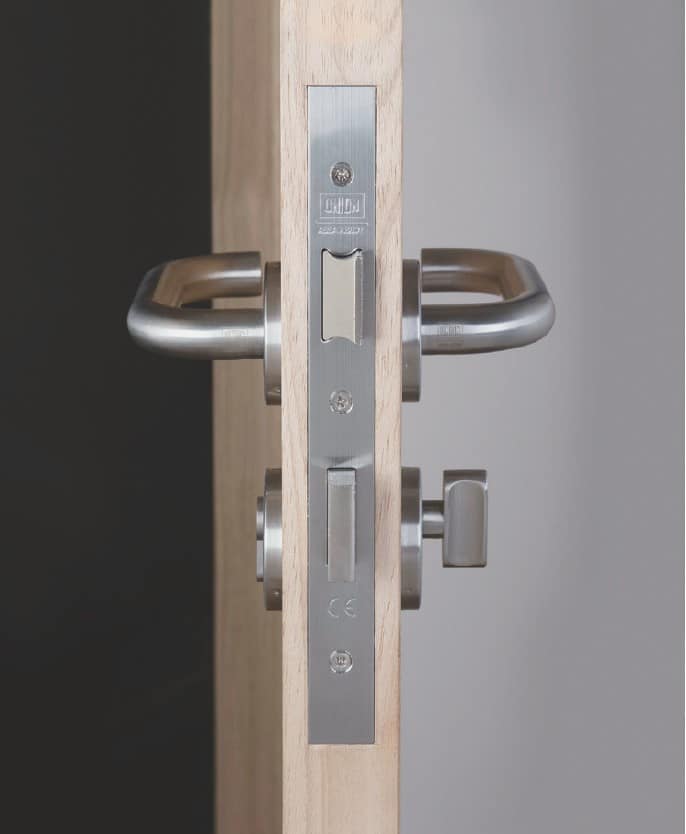
Figure 1 - Lock case fitted squarely within the
door.
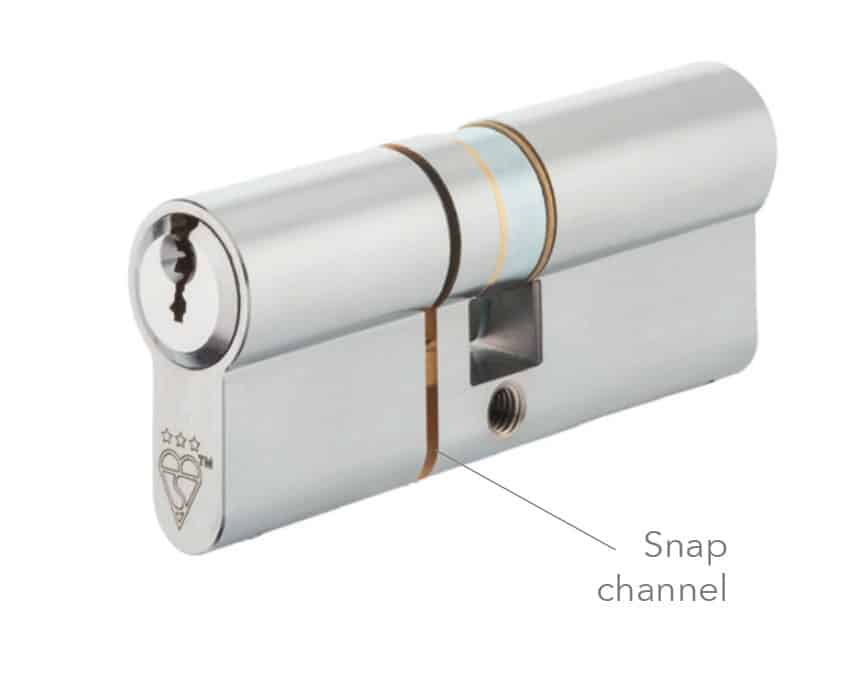
Figure 2 - Sacrificial snap channel on cylinder.
Installation
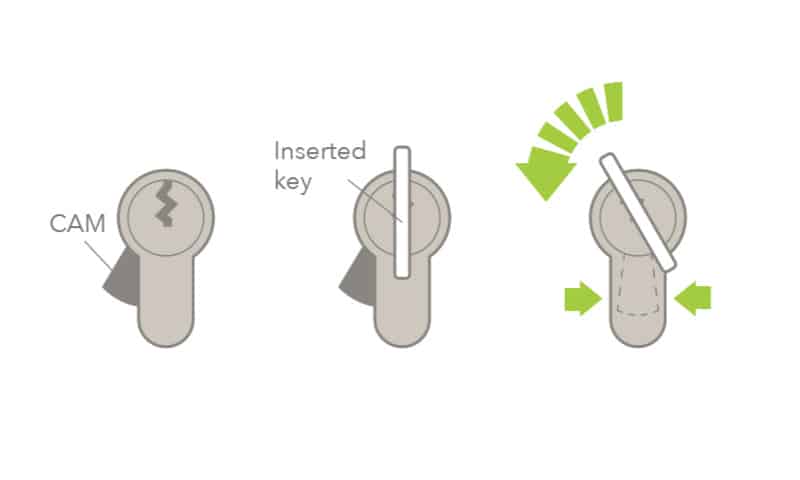
Figure 3 - Cylinder cam central.
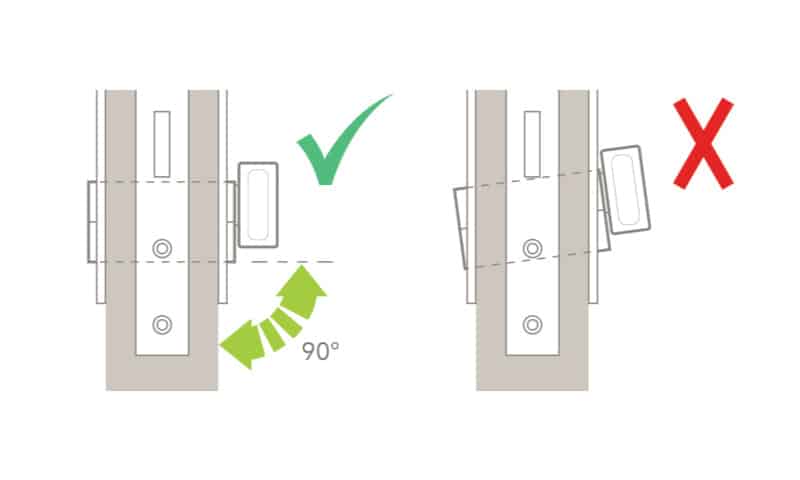
Figure 4 - Inserting the cylinder.
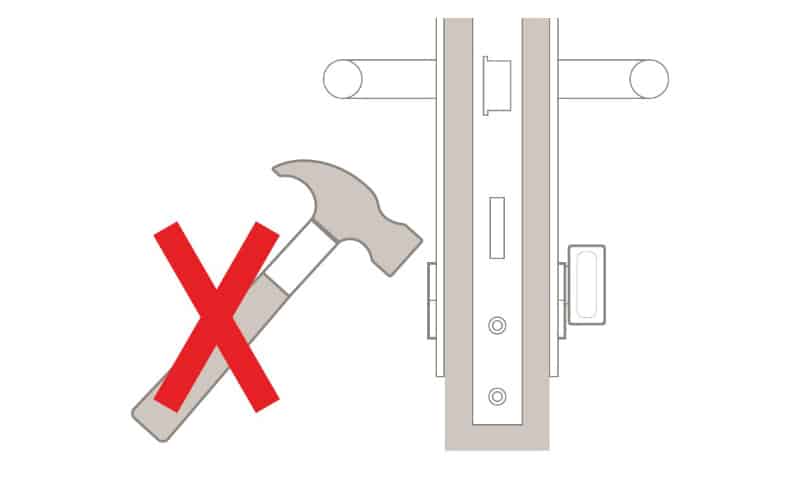
Figure 5 - Do not force the cylinder.
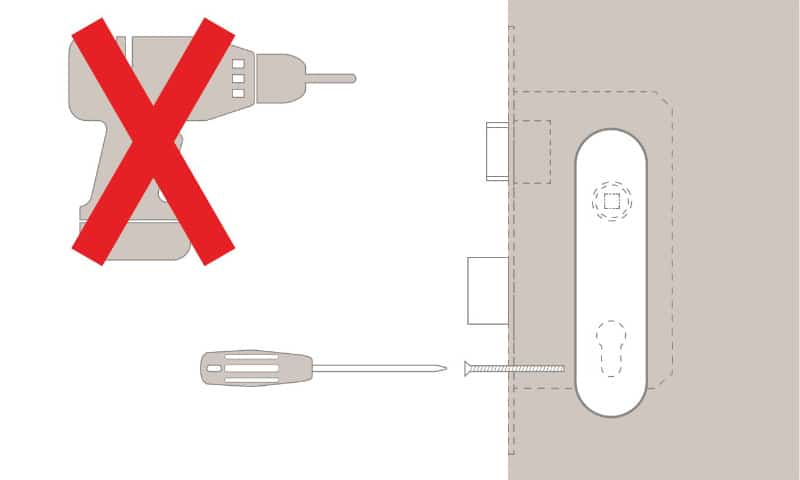
Figure 6 - Do not use excessive
force or power tools.
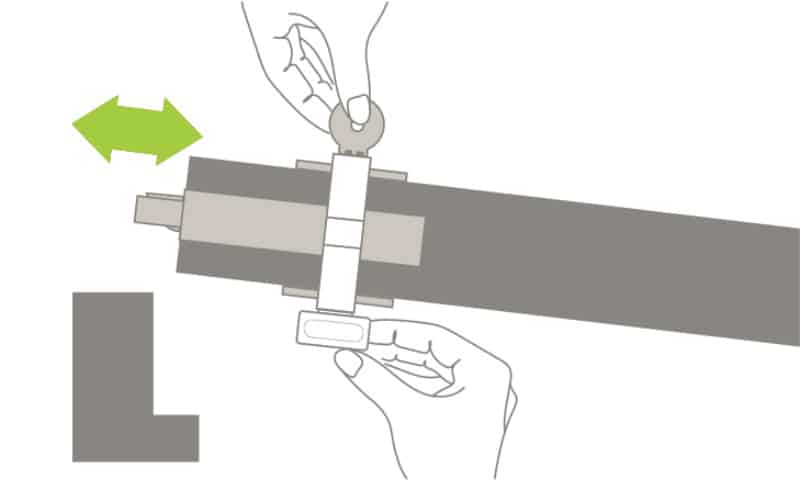
Figure 7 - Check the cylinder
operates smoothly.
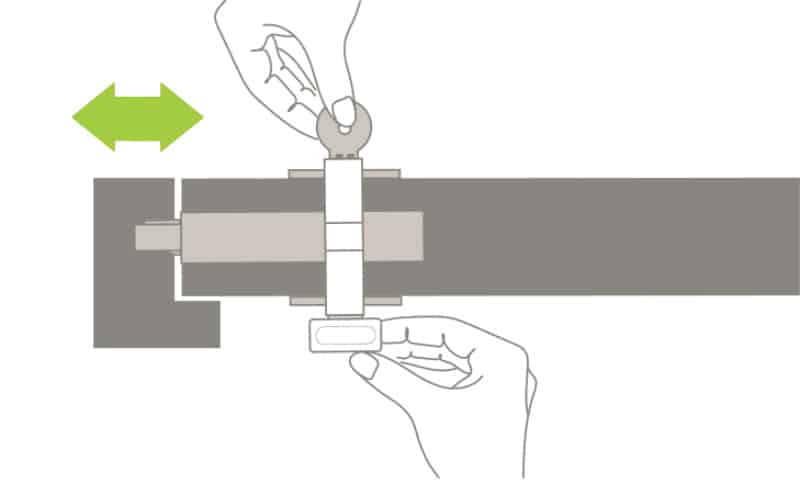
Figure 8 - Check the deadbolt throws into the keep.
Operation
1.
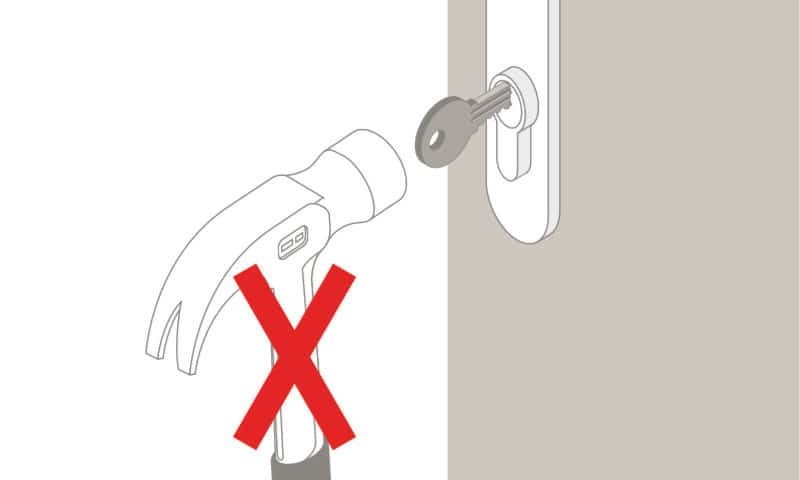
Do not force the key into the cylinder.
2.
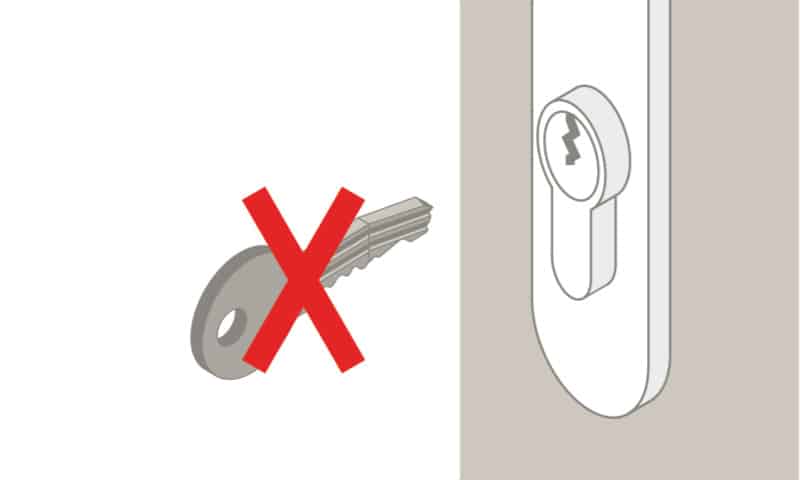
Do not use damaged
or bent keys.
3.
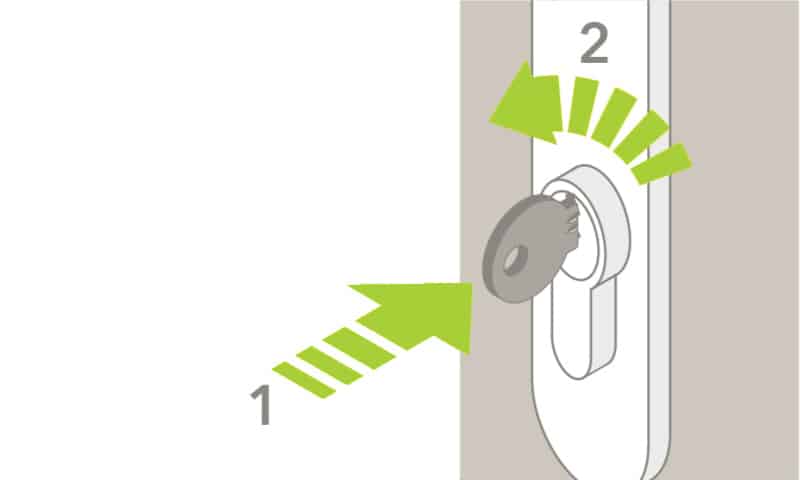
Make sure the key is inserted fully (1) into the cylinder before turning (2). DO NOT force the key to turn.
4.
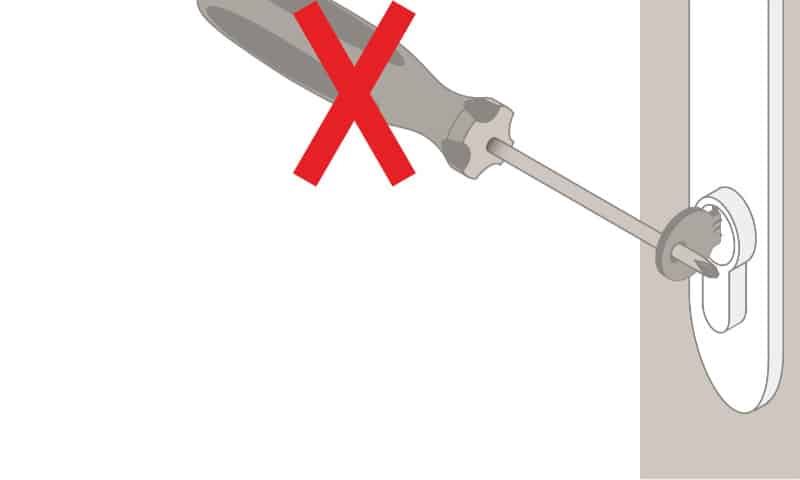
Do not insert objects to increase the torque on the key bow.
5.
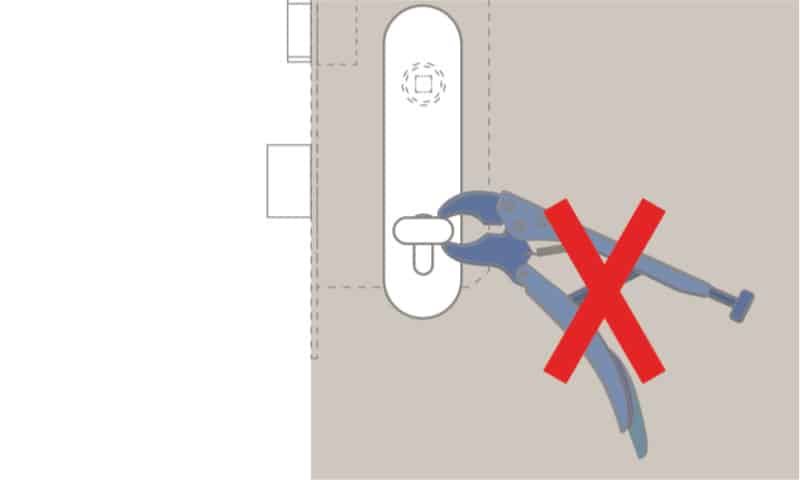
DO NOT FORCE the thumb turn with a device such as vice grips to increase leverage.
6.
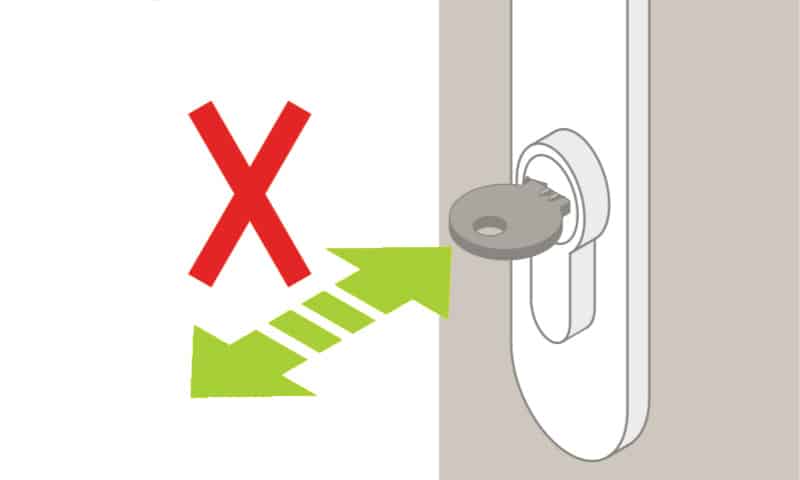
Do not use the thumb turn or key to pull the door open or closed.
Appendix
Information on Security Cylinders Certification Scheme
3 Star Cylinders
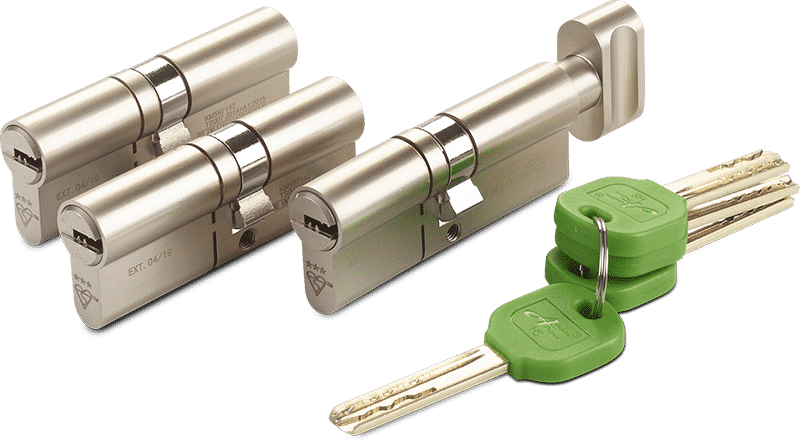
This cylinder offers resistance to the commonly used types of attack.
No specific security hardware is required, but installing a three star cylinder in conjunction with security hardware complying with TS 007 will increase attack resistance still further.
Security hardware can be of several types, including a handle with a reinforced backplate, an escutcheon or a device which is concealed behind the handle backplate. In all cases, the purpose is to protect your cylinder from force attack.
Three Star cylinders have a “Snap” feature which must be on the external face of the door. Take special care on installation to avoid damaging the cylinder or activating the “Snap” feature through the use of undue force (See Pre-Installation section).
Note: If a thumb turn cylinder is attacked it will lock in position. To release the cylinder you must follow the manufacturer’s instructions and then turn to release. PLEASE CHECK YOUR MODEL OF CYLINDER.
1 Star Cylinders
It is designed to be used in conjunction with two star security door hardware to ensure enhanced resistance to all commonly used attack methods. Therefore this product MUST be used in conjunction with two star security door hardware meeting TS 007 to ensure security.
Such hardware can be recognised by the two star marking which may either be visible from the outside on an installed handle or, failing this, will be visible once the outside handle has been removed.
Security hardware can be of several types, including a handle with a reinforced backplate, an escutcheon or a device which is concealed behind the handle backplate. In all cases, the purpose is to protect your cylinder from force attack.
Sold Secure
Sold Secure is a test and certification agency dedicated to reducing the risk of crime by the assessment of security products. It tests products to standards developed in conjunction with the industry to prove the level of security provided, thereby helping give guidance for manufacturers, installers and architectural ironmongers.
Sold Secure Diamond
Sold Secure Diamond and Gold require the same test evidence, but Diamond requires an additional Sold Secure attack test without security door furniture. This is considered as an alternative to TS 007 three star and is also quoted directly in PAS 24.
Sold Secure Gold
Sold Secure SS 312 Gold is in harmony with TS 007 one star as they both rely on the same test evidence, it also requires BS EN 1303 to the correct classification and an MLA General Vulnerability Assessment, with both quoted directly in PAS 24 standard.
Sold Secure Domestic Buildings Bronze
SS 301 Domestic Buildings Bronze requires handles and escutcheons to be used with SS 312 Gold Cylinders as quoted directly in PAS 24 standard.
